Sequence of the Aids
By Lynn Palm

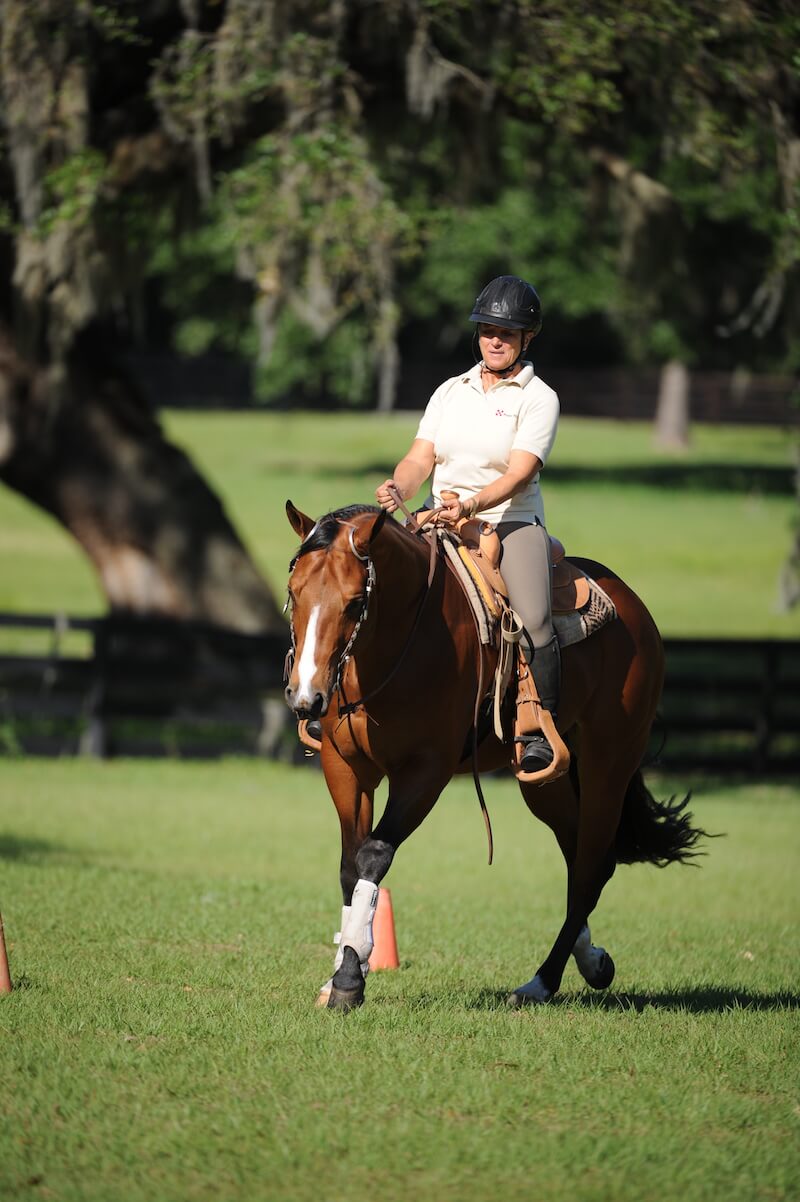
Have you ever ridden a horse on a curve or a circle and felt the horse speed up, lose his balance and not be able to follow the path? You may have been asking your horse to trot in a curved arc over logs in a trail class, lope a circle in a horsemanship pattern, or ride a turn on a hunter course.
If you’ve had this experience, chances are your horse was making every effort to do what you asked. However, he may not have been asked to maintain a proper bend. Bending allows him to be balanced and keep a steady tempo on the curve or circle. This article will describe what a proper bend looks like and the aids to use to create it.
Bend
What does a horse look like when he has a correct bend in his body? If you look at the horse from directly above, you’ll see a slight arc to his body from poll to the top of his tail. When riding your horse to the right you should see the horse’s head and neck slightly bent in that direction and just be able to see the corner of the horse’s right eye. The horse’s spine will be slightly arced, and the horse will be bent around your right leg and supported with your outside aids.
Please note that many riders think correct bending of the horse is just bending the head and neck. When you only ask the horse to bend his head and neck you don’t bend the rest of the horse’s body. This can hurt a horse, and when done extensively, can build a horse with a rubber neck (too flexible) that will always lose his balance. Bending a horse properly is bending the horse through his entire body.
Bend Equals Balance
When the horse bends properly he will be balanced. When a horse is not properly bent on a curve he will be unbalanced and increase or decrease speed which in turn may cause the rider to lose balance too. A properly bent horse is easy to steer or guide because he responds to lighter aids, keeps the same speed, and moves with free-flowing strides.
Sequence of Bending Aids
To achieve bend with your horse on a curve you’ll need to understand and follow the correct aids sequence in order to get the best responses from your horse.
Both legs and both reins must act together in order to achieve control of your horse’s body. By practicing the correct aids sequence you’ll be able to automatically adjust and feel what you need to do to keep your horse bent properly.
If you’re traveling right on a curve, start with the inside right leg aid. Do this at a walk first so you can easily feel what you’re asking from your horse. Your right leg will be first in the sequence with activity right behind the girth. The active right leg will ask your horse to compress his body slightly inward, so he starts to bend. Use a light or vibrating pressure with the inside leg to ask the horse to bend his body.
Your rein aid is second. It controls the horse’s poll and neck to the withers. To flex the horse’s head and neck, you have two different rein aids: the open rein or the indirect rein (against the neck). The open rein is used to ask for a slight bend of the head and neck, and the indirect rein is used if a horse wants to bend the head and neck too much to the inside.
The open rein is used so there is no pulling on the horse’s mouth. The hand moves sideways for the horse to give to the bit and flex the head to the right. If the horse turns to the right when using the open rein, use an indirect rein for the horse to yield to the pressure against the neck, which also flexes the head inward. The inside leg and the inside rein are the both active aids used to bend the horse.
Next in the aids sequence use your outside left leg and left rein aid to support the bend of the horse. The left leg keeps his hips from going out on the curve. The left rein keeps the shoulder from going out or the head bending too far to the inside.
Keep your outside (left) leg slightly further back than the position of your right (inside) leg. Use light pressure with your outside leg to keep the hips from swinging out. Your outside leg will keep the horse’s hips slightly inward to create the curve from the withers to the top of the tail. The outside indirect rein is used against the neck to support the balance of the forehand. The outside aids are supporting aids.
Key Point
When you are able to bend your horse correctly on a curve you will achieve a balanced horse. There’s no greater feeling than a happy, willing horse!
In the next article we’ll continue with several different exercises to train your horse to bend correctly.
Trainer’s Corner: How to Put Your Horse in Balance – Part 2
Lynn Palm is the author of The Rider’s Guide to Real Collection and Your Complete Guide to Western Dressage. Her accomplishments include 2007 American Quarter Horse Association (AQHA) Horsewoman of the Year; AQHA Female Equestrian of the Year by the Women’s Athletic Association; named one of the top United States clinicians by Horse & Rider magazine; recipient of over 40 World and Reserve World Champions in AQHA and WDAA; USEF Western Dressage Horse of the Year and multiple USDF Champions; AQHA, ARHA and USEF Western Dressage R Judge. Lynn has given more than 50 bridleless exhibitions at events including the National Horse Show, 1989 World Cup, the 1996 Atlanta Olympic Games, 1996 World Cup, World Equestrian Games, and FEI World Cup.


